
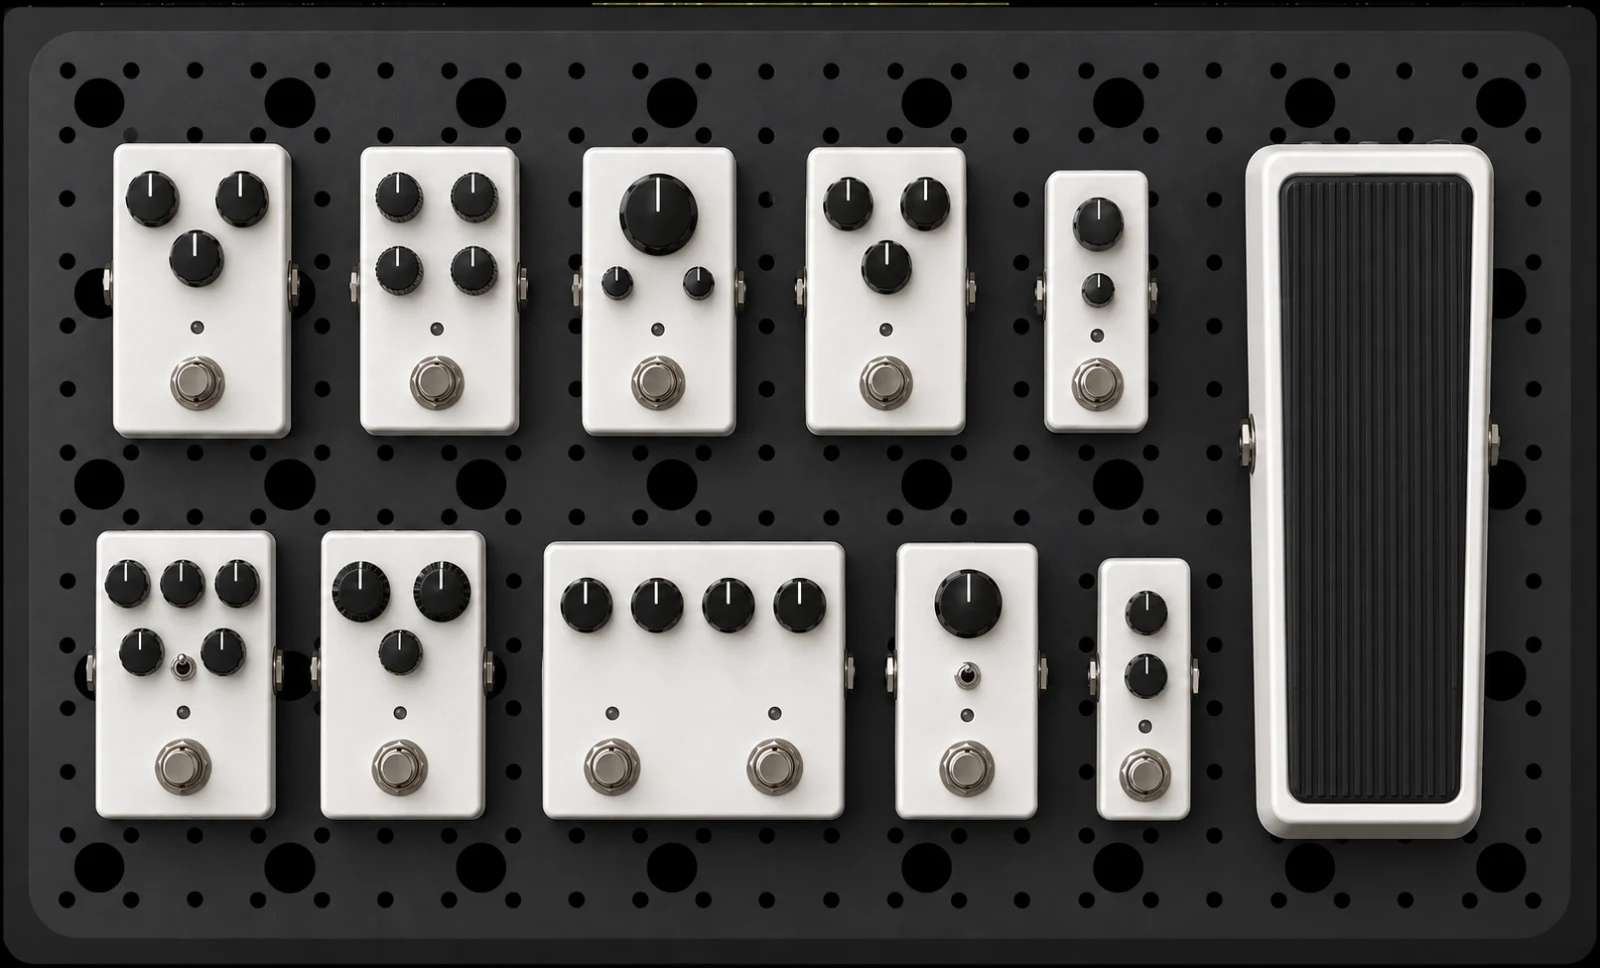
A pedalboard starts with the sounds you want to make. Then come the practical questions. Will everything fit? Can you reach the switches? Where will the power supply go? We built the Nebula Builder to give those questions a place to land, before you start moving pedals and cutting cables.
It started with a simple layout
The first aim was straightforward: put pedals on a scaled view of Nebula and move them around. A quick way to explore an idea, whether you already owned the board or were deciding if it suited your rig.
That basic interaction still sits at the centre of the Builder. Choose a pedal from the library, or enter dimensions for something missing. Drag it into position, rotate it and try another arrangement. The library now includes more than 200 pedals, while custom entries leave room for unusual enclosures, large processors and whatever comes next.
Even a rough plan can change your thinking. The pedal you use most might deserve the front row. An expression pedal might work better at the side. A little open space may be more useful than squeezing in one more effect.
Then we looked at the whole board
As the Builder developed, the drawing needed to follow the physical board more closely. We refined the relationship between the board image, its perforations and its dimensions. We also allowed the top layout to use the edges supported by the wooden frame, rather than stopping everything at the perforated metal.
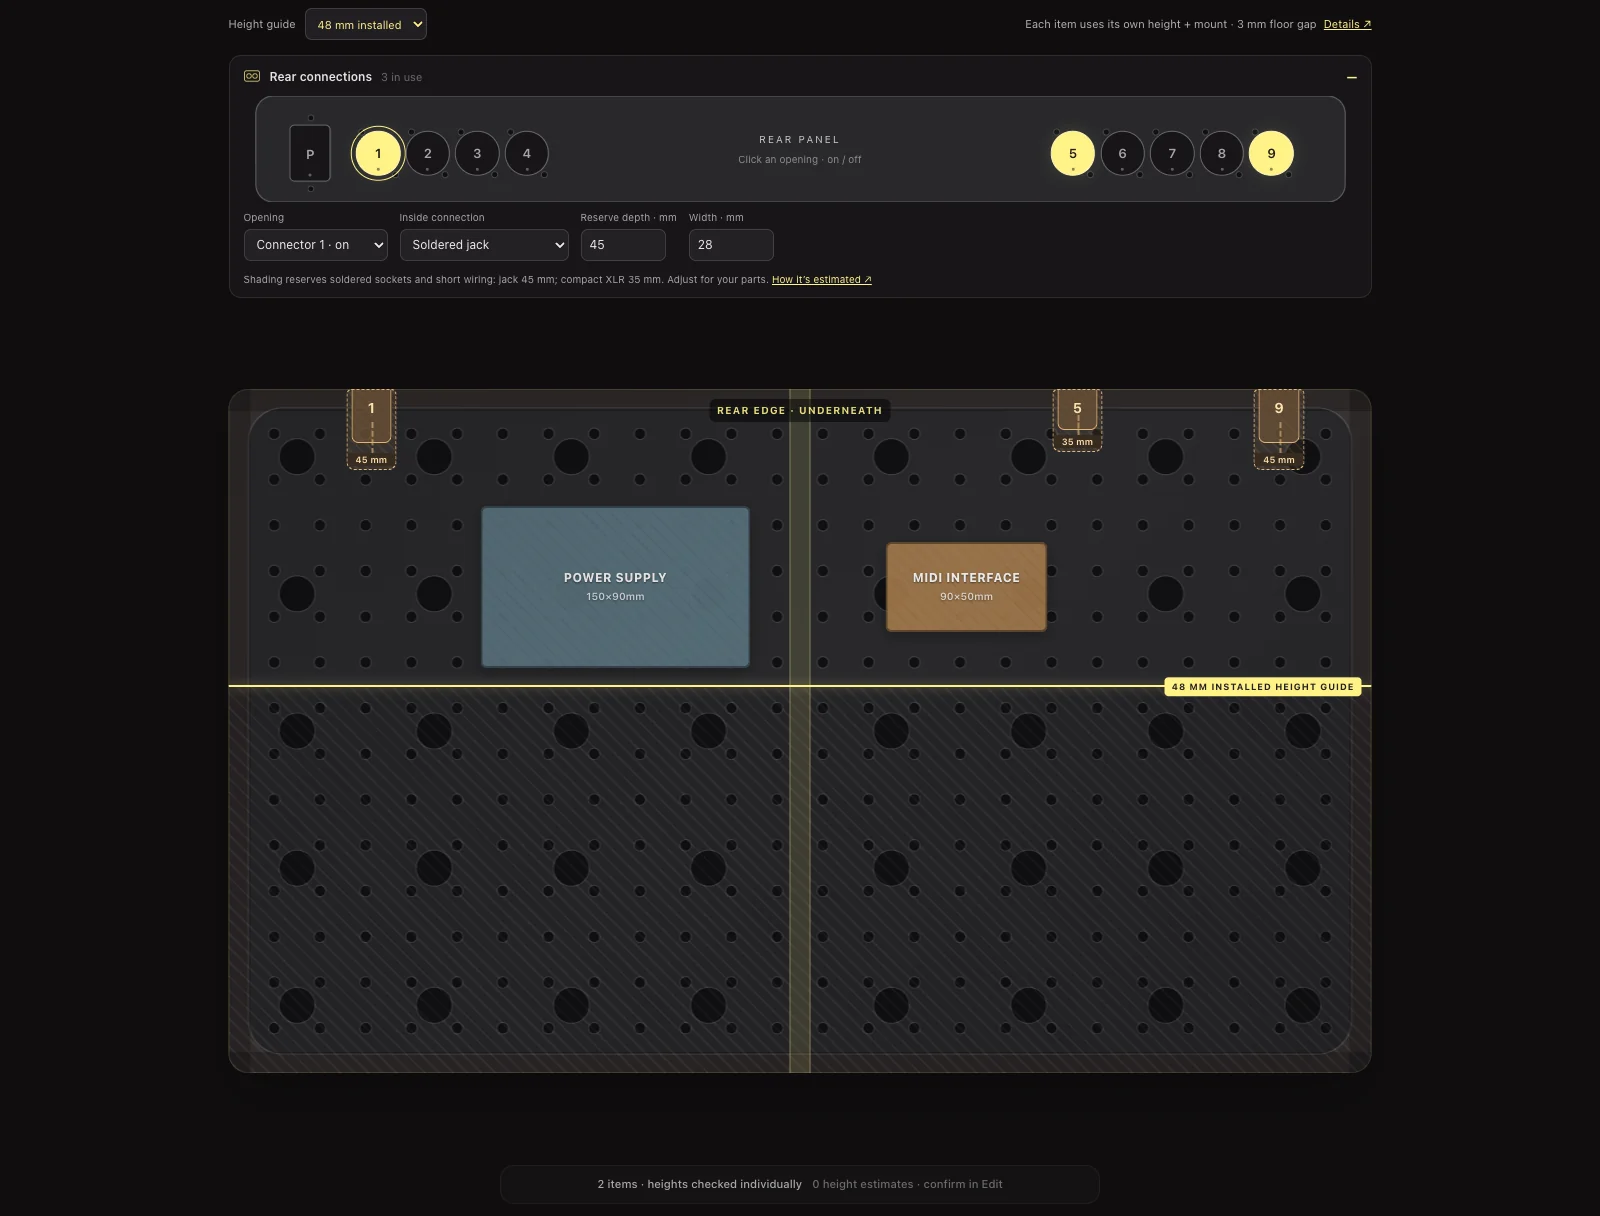
The bigger step was adding the underside. A power supply or interface can free up valuable space above, but fitting below Nebula involves height as well as width and depth. The board slopes, and its structure occupies some of that space.
You can now switch between Top and Under within the same plan. Underneath, each item’s height and mounting thickness help determine where it can sit. A height guide makes the changing clearance visible, and fit warnings flag positions that need attention.
The connections needed space too
An empty patch of underside is not always available. Fit a socket to the rear panel and its body, solder connections and wiring extend into that area.
We added a view of Nebula’s rear panel so you can switch individual openings on or off. The corresponding space appears on the board, making it easier to place equipment around the connections you intend to use. The presets allow for soldered sockets and short internal wiring; you can adjust the reserved width and depth for your own parts.
Making room to work
Adding useful detail also meant paying attention to the screen itself. The board needs to stay large enough to arrange pedals comfortably. Opening the rear panel now moves the board down to make room, keeping its scale useful. You can work within the website or open the Builder in a full window.
Undo and redo make experimentation easier. Once a pedal is where you want it, you can lock its position while arranging the rest. These are small details, but they help keep your attention on the rig.
A plan you can come back to
Your layout is saved automatically in the same browser. Give the board a name, then use a share link to carry that version to another device or show someone what you have in mind. The PNG export provides a visual plan you can keep alongside your pedal list.
That also makes a conversation with us more useful. We can look at the same arrangement when discussing a Nebula or custom mounting. Along the way, we explored bringing plate selection directly into the layout process. Keeping pedal placement simple felt better: Nebula includes 14 plates—two of each standard size. Extra plates, the Quad Cortex plate and custom mounting can be ordered at additional cost alongside your plan.
Start with the pedals you already love
The current Builder brings those pieces together in one place. You can start small:
- Add your main pedals and arrange the switches you need to reach most often.
- Switch underneath to place your power supply or other equipment, checking its height and mounting thickness.
- Enable any rear connections, leave room for cables, then save a share link or export your plan.
Library dimensions and connection presets are planning estimates. Check your actual equipment, protruding plugs and cable bends before committing to a layout. The Builder gives you a clearer starting point for those decisions.
Your rig will keep changing. Make room for the next idea.
Get to know the board behind the plan: explore Nebula.